We offer a great variety of video conferencing applications that feature different functions and can be used for various application purposes and scenarios. Despite all the differences, all the applications offered have one thing in common. The number of active participants – especially those who share their cameras – is limited.
Streaming – a possibility for unlimited listeners
For events such as conferences, usually there are few active participants. Most of the time the active ones are the different speakers or a moderator. The audience often plays a passive listening role and does not necessarily want to actively participate. For this purpose, DFNconf offers the option of activating a live stream for a conference.
Enable live streaming
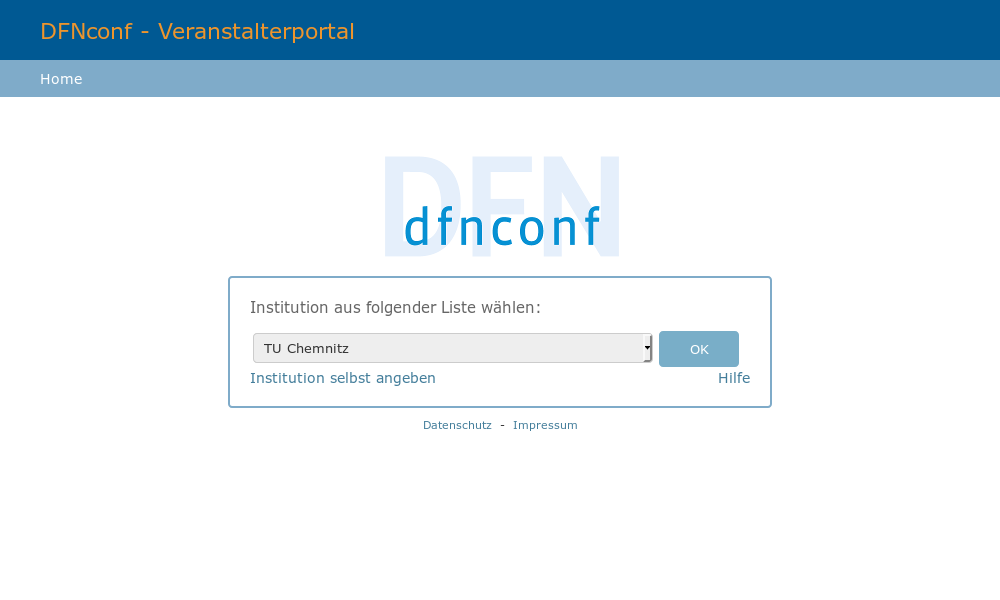
Log in to the DFNconf portal (organizer portal). To do this, select the institution “TU Chemnitz” and register via our web trust center.
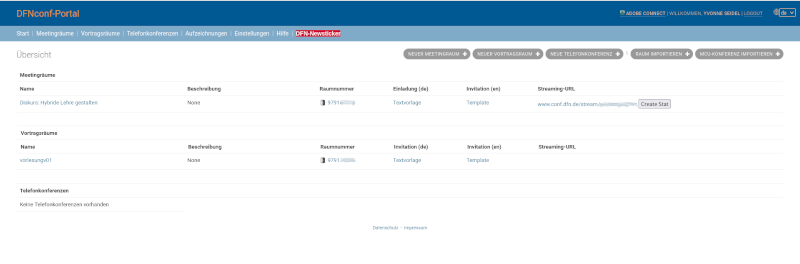
You will now be directed to the DFNconf portal, where you can create and manage your meetings. The DFN provides a number of predefined meeting formats. The types of meeting room, lecture room and conference call differ in their defined default settings and can be used as quick templates. However, each of these types can also be individually adapted.
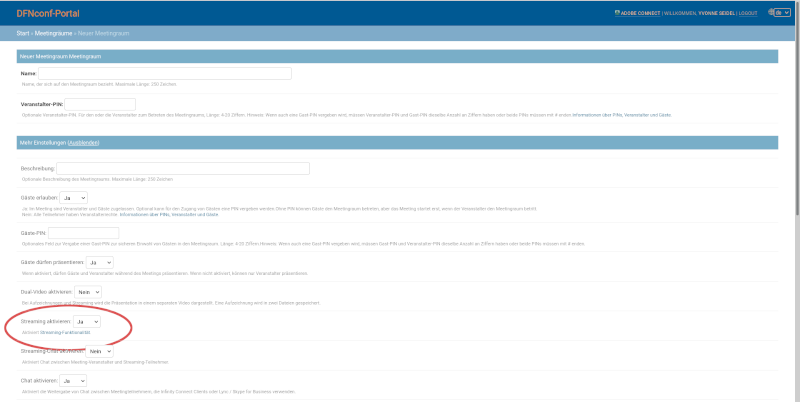
First, you set a title for your meeting. You can define an organizer-PIN if other people are to be authorized as the organizer for your meeting or if you as the organizer want to register, e.g. via one of the room systems. We have described the procedure for using the video conference rooms in the article Meetings in partial presence. The settings for activating the live stream can be found under “Mehr Einstellungen”(More Settings). This setting must be made again for each meeting with streaming option. You can also enable the participants in the stream to ask questions via chat. This chat must also be activated separately in the settings.
Then select the “Speichern” (Save) button at the end of the page. You will now get back to the overview of your conferences. If you click on the room number in this, you will enter the conference directly as the organizer. You can also adjust the settings for your conference at any time by clicking on the name in the first column. If you have activated the live stream, you will find the URL for distribution at the end of the table.
Tip: The creation of conferences is free of charge for employees of the TU Chemnitz. No registration is required to participate. You can find the access information in the conference overview. You can send this data to your participants.
Start streaming
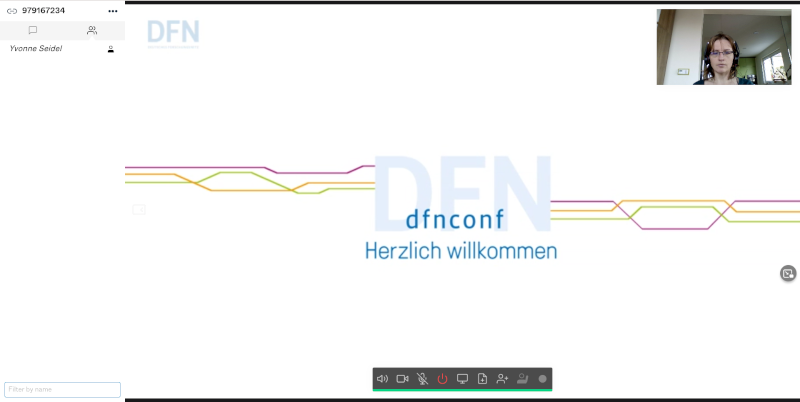
As the organizer, you must first start the conference and afterwards the streaming. To do this, you will find a control surface at the bottom of the screen in the meeting. Start streaming on the right (circle).
The stream is provided via HLS *. This results in a delay between the meeting and the presentation in the stream of currently approx. 15 seconds. It is imperative that you take this delay into account when clarifying questions, e. B. via the chat of streaming participants.
*) This delay is due to the way HLS works – a minimum of streaming data must be loaded from the server into memory before the stream can be played.
When the organizer ends the live stream, no information is displayed to the participants. The last picture remains and the time indication stops. You should therefore use a corresponding slide that makes it clear to all participants that the stream has ended (or has been paused).
The live stream can be accessed publicly at any time via the displayed URL. The transmission of the live stream link cannot be prevented. To make it more difficult to pass the link on, you can upload the live stream to a website or embed within your OPAL course, for example. In OPAL, you use the “Einzelne Seite” (Single Page) module for this. Edit the page content and use the option to insert source code.
Insert the following code and edit the relevant positions individually:
<video id="dfnconf_video" class="vjs-16-9
vjs-big-play-centered" poster="[URL für eine Grafik fürs Standbild]"
preload="auto" controls="controls" width="750" height="775"
data-setup="{"fluid": true,
"responsive": true}">
<source
src="https://streaming.conf.dfn.de/recorder/[Meeting-ID]/playlist.m3u8?tokenhash=[Meeting-Hash]"
type="application/x-mpegURL" /></video>
In order to be able to read out the correct value for src, you must first start the streaming and call up the live stream URL. The correct URL and the required meeting hash is displayed in the page source text. This always remains the same for this meeting and does not have to be adjusted again.
Leave a Reply
You must be logged in to post a comment.